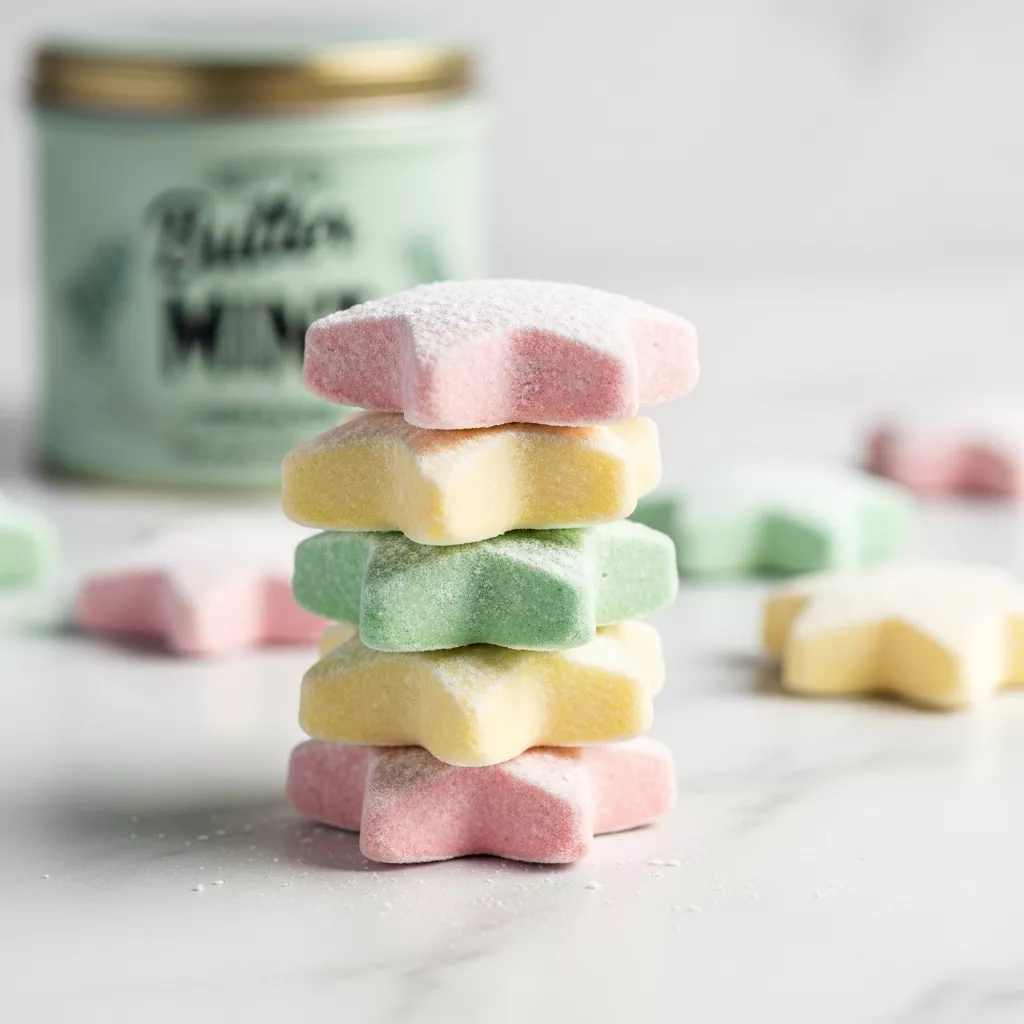
I have such vivid memories of my grandmother’s kitchen during the holidays, especially the sweet, minty aroma that always seemed to linger in the air. It was the smell of love and anticipation, and it always meant that her famous old fashioned butter mints were on their way. These weren’t just any mints; they were tiny, melt-in-your-mouth squares of pure happiness.
She’d let me help roll out the dough, even though my shapes were always a bit… abstract. It never mattered. The point was spending time together, creating something special that everyone would enjoy. It’s a tradition I’ve carried on, and now I can share that joy and connection with my own family.
And just like my grandmother’s, these old fashioned butter mints are surprisingly simple to make. Speaking of simple, have you ever tried these easy no-bake peppermint bars? They’re another delightful holiday treat.
Why you’ll love this Old-Fashioned Butter Mints with Old Fashioned Butter Mints
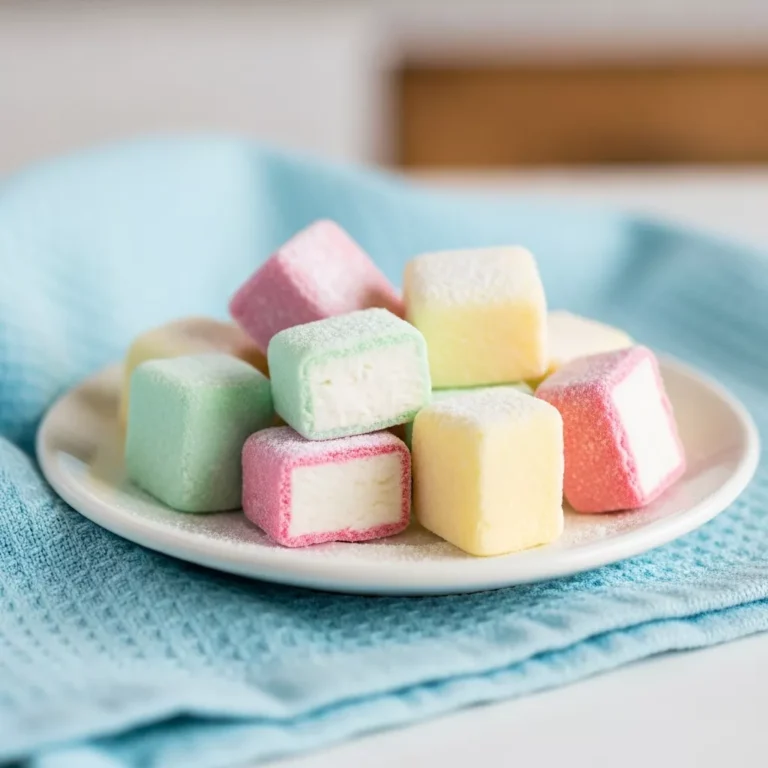
- These melt-in-your-mouth mints are a delightful treat that everyone will love.
- They’re incredibly easy to make with just a few simple ingredients, perfect for beginner bakers.
- You can customize the color and shape to match any holiday or party theme.
- The refreshing peppermint flavor makes them a perfect after-dinner treat.
- These old fashioned butter mints are a wonderful homemade gift idea.
- They’re a classic recipe that brings back nostalgic memories and creates new ones.
Ingredients
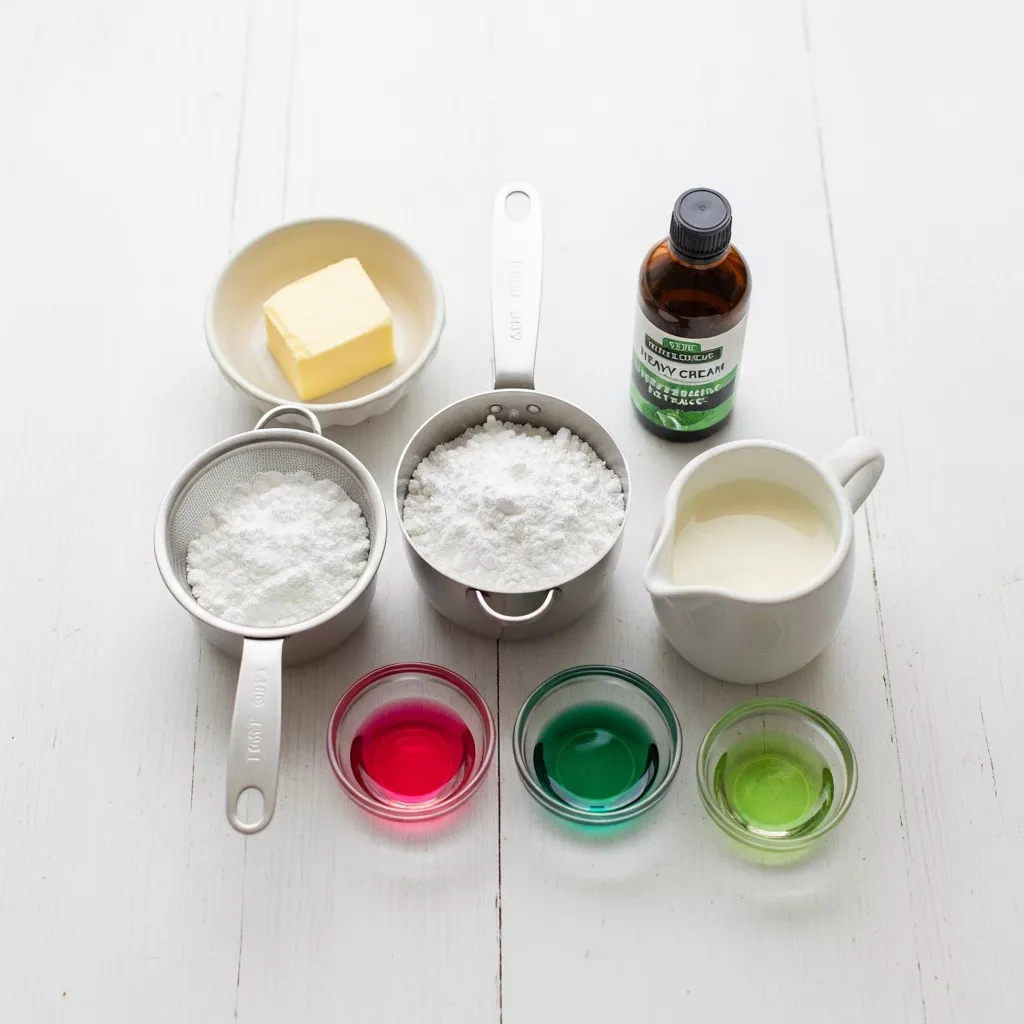
- 4 tablespoons unsalted butter, softened
- 4 cups powdered sugar, sifted
- 4 tablespoons heavy cream
- 1/2 teaspoon peppermint extract
- Food coloring (optional)
Directions
Step 1
Old fashioned butter mints makes every moment feel comforting. In a large bowl, cream together the softened butter and 2 cups of the powdered sugar until light and fluffy. This step is crucial for achieving a smooth and creamy texture, so don’t rush it!
Step 2
Gradually add the heavy cream and peppermint extract, mixing until well combined. The mixture should start to come together, forming a slightly wet dough.
Step 3
Add the remaining powdered sugar, 1 cup at a time, until a smooth, pliable dough forms. If the dough is too sticky, add a bit more powdered sugar. If it’s too dry, add a tiny splash of cream, a teaspoon at a time.
Step 4
If desired, divide the dough and add a few drops of food coloring to each portion. Knead the color in until evenly distributed, creating beautifully tinted mints. Gel food coloring works best to avoid adding too much liquid.
Step 5
Roll the dough out to about 1/4 inch thickness on a surface lightly dusted with powdered sugar. This prevents the dough from sticking and ensures a clean cut.
Step 6
Use small cookie cutters or a knife to cut out desired shapes. Alternatively, roll into small balls and flatten with a fork for a classic look. Get creative with your shapes – stars, hearts, or even tiny squares!
Step 7
Place the mints on a parchment-lined baking sheet. This prevents them from sticking and makes cleanup a breeze.
Step 8
Let them air dry for at least 2-3 hours, or preferably overnight, to harden slightly. The longer they dry, the firmer they’ll become. For a softer mint, dry for a shorter period.
Variations, pairings, and serving ideas
Variations
Experiment with different extracts to create unique flavor combinations. Vanilla extract offers a warm and comforting twist, while lemon extract provides a bright and zesty alternative to the traditional peppermint. A tiny amount of almond extract can also add a sophisticated touch.
You can also add a touch of spice. A pinch of ground cinnamon or nutmeg can add warmth and depth to the flavor profile, especially during the cooler months. Consider adding dried, finely ground citrus zest to the dough for a burst of fresh flavor.
Consider adding finely chopped nuts or dried fruit to the dough for added texture and flavor. Pecans, walnuts, or dried cranberries can create a delicious contrast to the smooth, minty sweetness. Just make sure to chop them finely so they don’t interfere with the mints’ delicate texture.
Pairings
These old fashioned butter mints are the perfect after-dinner treat, especially after a hearty meal. Their refreshing peppermint flavor helps cleanse the palate and provides a light, sweet ending to the meal. They pair beautifully with a cup of coffee or tea.
They also make a wonderful addition to a dessert platter. Arrange them alongside other sweets, such as cookies, brownies, or fruit tarts, for a visually appealing and delicious spread. They add a touch of elegance and freshness to any dessert selection.
For a more sophisticated pairing, consider serving them with dark chocolate. The bitterness of the chocolate complements the sweetness of the mints, creating a harmonious and indulgent flavor combination. You can even dip the mints in melted dark chocolate for an extra special treat.
Serving ideas
Present these delicate treats in a beautiful glass dish or tiered serving stand to elevate their presentation. This is especially effective during holidays or special occasions, adding a touch of elegance to your table. The clear glass allows the colorful mints to shine.
Package them in small cellophane bags or decorative tins to create charming homemade gifts. Tie the bags with ribbons in coordinating colors for an extra festive touch. These personalized gifts are sure to be appreciated by friends and family.
Consider using them as edible decorations for cakes and cupcakes. Their small size and delicate texture make them ideal for adding a pop of color and sweetness to your baked goods. Just remember, CookReel has an Easy Gochujang Broccoli Recipe (opens in a new tab) that would pair delightfully with these mints for a meal that is both healthy and satisfying. Check it out for a quick and easy side dish.
Storage and make-ahead tips
Storage
Store these old fashioned butter mints in an airtight container at room temperature. This will help them maintain their texture and prevent them from drying out too much. A cool, dark place is ideal.
They can typically be stored for up to 2 weeks, though they are best enjoyed within the first week for optimal freshness. If you notice them becoming too hard, you can add a slice of bread to the container to help retain moisture.
While freezing is not recommended, as it can alter the texture of the mints, they can be stored in the refrigerator for a slightly longer period, up to 3 weeks. Just be sure to keep them in an airtight container to prevent them from absorbing any unwanted flavors.
Make-ahead
These mints are perfect for making ahead of time, which is especially helpful during busy holidays. You can prepare the dough several days in advance and store it tightly wrapped in the refrigerator until you’re ready to roll and cut the mints.
You can also roll and cut the mints and then store them in an airtight container in the refrigerator for a few days before drying them. This allows you to break up the process into smaller, more manageable steps.
For optimal results, allow the dough to come to room temperature for about 30 minutes before rolling it out. This will make it easier to work with and prevent it from cracking.
Common mistakes when making Old-Fashioned Butter Mints
- Using butter that is too warm or too cold: The butter should be softened but not melted. If it’s too warm, the dough will be greasy. If it’s too cold, it will be difficult to cream with the sugar.
- Not sifting the powdered sugar: This can result in lumps in the mints, making them less smooth. Sifting ensures a consistent texture.
- Adding too much liquid: The dough should be smooth and pliable, but not sticky. Add the heavy cream gradually to avoid adding too much.
- Drying the mints for too long: This can make them too hard. Check them periodically and remove them from the baking sheet when they reach your desired consistency.
- Not storing them properly: Store them in an airtight container to prevent them from drying out or absorbing moisture.
Final notes
Making these old fashioned butter mints is a truly rewarding experience. The process is simple, the ingredients are readily available, and the results are simply divine. Don’t be afraid to experiment with different flavors and colors to create your own unique variations!
These little mints are more than just a sweet treat; they’re a symbol of tradition, love, and the joy of sharing homemade goodness with those we care about. So gather your ingredients, put on some music, and get ready to create some minty magic!
Enjoy the process and savor the sweet moments of creating these delectable treats. I hope you and your loved ones enjoy these delightful old fashioned butter mints as much as my family and I do!
Loved this Old-Fashioned Butter Mints? Try these next
- Easy No Bake Peppermint Bars
- 54th Street Gringo Dip Copycat Recipe
- Keto Chicken Alfredo Bake
- Easy Gochujang Broccoli Recipe
- Honey Balsamic Brussels Sprouts Recipe
Old-Fashioned Butter Mints
These melt-in-your-mouth old-fashioned butter mints are a classic treat, perfect for holidays, parties, or just a sweet little indulgence. They are surprisingly easy to make at home with just a few simple ingredients.
- Total Time: 15 minutes
- Yield: Approximately 60 mints 1x
Ingredients
- 4 tablespoons unsalted butter, softened
- 4 cups powdered sugar, sifted
- 4 tablespoons heavy cream
- 1/2 teaspoon peppermint extract
- Food coloring (optional)
Instructions
- In a large bowl, cream together the softened butter and 2 cups of the powdered sugar until light and fluffy.
- Gradually add the heavy cream and peppermint extract, mixing until well combined. Add the remaining powdered sugar, 1 cup at a time, until a smooth, pliable dough forms.
- If desired, divide the dough and add a few drops of food coloring to each portion. Knead the color in until evenly distributed.
- Roll the dough out to about 1/4 inch thickness on a surface lightly dusted with powdered sugar. Use small cookie cutters or a knife to cut out desired shapes. Alternatively, roll into small balls and flatten with a fork.
- Place the mints on a parchment-lined baking sheet. Let them air dry for at least 2-3 hours, or preferably overnight, to harden slightly.
Notes
For a softer mint, dry for a shorter period. Store in an airtight container at room temperature. You can use different extracts for other flavors, like vanilla or lemon. For best results, sift the powdered sugar to avoid lumps in the mints.
- Prep Time: 15 minutes
- Cook Time: 0 minutes
- Category: Dessert
- Method: No-Bake
- Cuisine: American
Nutrition
- Serving Size: 1 mint
- Calories: 25
- Sugar: 6g
- Sodium: 1mg
- Fat: 1g
- Saturated Fat: 0.5g
- Unsaturated Fat: 0.3g
- Trans Fat: 0g
- Carbohydrates: 7g
- Fiber: 0g
- Protein: 0g
- Cholesterol: 2mg